The 2026 “Start Now” Shopify Tutorial Hook: Build a Store This Weekend
If you have been waiting for the “perfect time” to launch, 2026 is quietly the best year to stop waiting. Shopify has gotten faster to set up, easier to design, and more forgiving for beginners who just want a clean store that converts. You can build something real this weekend, then improve it once people actually start clicking and buying.
What’s changed in 2026 (and why it’s easier, faster)
Modern Shopify themes are more flexible out of the box, so you spend less time fighting layout. Checkout is smoother and more reliable, and the app ecosystem is better curated, so you can avoid installing ten tools just to do one job. The practical result is speed.
- 2–4 hours to launch a simple store with one product and basic branding
- 1–2 days for a polished brand store with multiple pages, a small catalog, and tighter visuals
What you need before you touch Shopify
Shopify is the easy part, deciding what you sell and how you deliver it is what saves you from rebuilding later. Before you start, get your niche and product concept clear, pick a brand name you can live with, and gather the basics that affect the checkout experience.
- Niche + product concept
- Basic brand name and tone
- Product photos or prototypes
- Pricing and margin target
- Shipping plan, including handling time and packaging
- A payment method for Shopify billing and payouts
Starter checklist examples:
- Single-product store: 6–8 photos, 1 product page, 1 offer (for example, bundle or free shipping threshold), 1 clear shipping and returns policy.
- Small catalog (5–20 SKUs): consistent naming, collections planned (by use case or category), variant strategy (size, color), and a simple inventory approach (track best sellers first).
The #1 mistake beginners make
Beginners overbuild before they validate. They add too many pages, too many apps, and too many design tweaks before anyone has seen the store. Launch a “minimum lovable store” instead, something that looks trustworthy, explains the product clearly, and makes checkout easy. Improve after you get real traffic and real questions.
Decisions you make now are expensive to undo
Store name, URL structure, and collection architecture are cheap to set correctly today and painful to migrate after you have traffic and order history. Slow down on the setup step even though it feels less exciting than the storefront.
Set Up Shopify the Right Way (So You Don’t Rebuild Later)
Create your Shopify account + pick the right plan
Start with the smallest plan that supports your launch goals. For most solo founders, Basic is enough until you have steady revenue and you know what you actually need. Upgrade when reporting, staff permissions, or operational complexity justifies it, not because you want to feel “more official.”
- Basic: best for a solo operator, first products, and early validation.
- Upgrade later: when you need deeper reporting, multiple staff roles, or you are scaling a catalog and fulfillment operations.
Store settings that matter (and the ones you can ignore for now)
Get the fundamentals right because they affect customer trust and taxes. Set currency, time zone, and your shipping origin first. Then confirm taxes, customer accounts, and checkout settings.
- If you sell only in the US: set USD, US time zone, one shipping origin, and configure taxes for your state requirements.
- If you sell internationally: add additional markets, confirm duties and tax handling, and be explicit about delivery timelines.
You can ignore advanced automations, custom reports, and most integrations until you have consistent orders. Early on, simplicity beats complexity.
Domain + brand foundation
Buy a domain that is easy to spell and say out loud. Avoid hyphens and clever misspellings, they leak traffic and create support headaches. Connect the domain in Shopify, then set up a professional email if you can, it raises trust for customer support and influencer outreach.
- Choose a name that passes the “podcast test,” someone can hear it and type it correctly.
- Check social handle availability before you commit.
Build Your Storefront: Theme, Branding, and High-Converting Pages
Choose a theme based on your product type
Pick a theme that fits how people shop your product. One-product stores need a strong product page and a clean homepage that pushes visitors to buy. Multi-product catalogs need great collection pages, filters, and navigation.
- Prioritize speed, mobile layout, and product page flexibility over fancy animations.
- Choose readable fonts and high contrast buttons, especially on mobile.
Must-have pages (and what to put on each)
Every page should answer a question a buyer already has. If a page does not reduce confusion or increase trust, it can wait.
- Homepage: clear value proposition, best sellers or featured product, benefits, social proof, FAQs, email signup.
- Product page: benefits, proof, details, shipping and returns, reviews, clear call to action.
- Collections: simple grouping by category or use case, not internal SKU logic.
- About: why you exist, who it is for, what makes you credible.
- Contact: email, form, response time, and order help links.
- Shipping/Returns and FAQ: short, scannable answers that remove purchase anxiety.
Simple homepage structure that works in 2026:
- Hero with a benefit-driven headline
- Best sellers or featured product
- Social proof (reviews, UGC, press, or testimonials)
- Key benefits with icons or short bullets
- FAQ
- Email signup
Navigation and trust elements that increase conversion
Clean navigation makes your store feel bigger and safer. Use clear menu labels, keep the header uncluttered, and make the cart easy to access. Trust elements should be visible where decisions happen, not buried in the footer.
- Clear menu labels like “Shop,” “About,” “Contact,” “Shipping & Returns.”
- Sticky cart or quick add, if your theme supports it without slowing the site.
- Visible shipping and returns near the Add to Cart button.
- Payment badges and reviews, placed naturally, not spammy.
Add Products Like a Pro: Listings, Pricing, and Inventory Basics
Product setup essentials
Your product listing is your salesperson. Keep titles clear, avoid keyword stuffing, and make variants easy to understand. Track inventory if you have limited stock, otherwise you risk overselling and turning a first customer into a refund request.
- Use consistent SKUs, especially if you plan to scale or use a 3PL later.
- Only add barcodes if you need them for retail or scanning workflows.
A description order that sells without hype: benefit, proof, details, then care or size. For example, “Softer sleep” first, then “tested by 50 customers,” then materials and dimensions, then washing instructions.
Product photography and media (on a beginner budget)
You do not need a studio, you need clarity. A smartphone, window light, and a consistent background will beat dark, inconsistent images every time. Keep file sizes small so your pages load fast on mobile data.
- Hero image on a clean background
- 2–3 angle shots
- In-use lifestyle shot
- Size or scale reference (in hand, next to a common object)
- Packaging shot, especially if it is giftable
Pricing strategy for beginners
Start with cost-based pricing, then refine based on demand. Calculate COGS, packaging, average shipping cost, payment fees, and your target margin. If you guess here, you will feel it later when you try to run ads or offer free shipping.
- Use psychological pricing carefully, $29 feels different than $30, but do not cheapen premium products.
- Offer a starter bundle to lift average order value, for example “Buy 2, save 10%.”
Get plain-English guides like this in your inbox.
One short email a month. WordPress, Shopify, SEO, no fluff. Unsubscribe in one click.
We never share your email.
Payments, Shipping, and Legal Pages: Make Your Store “Checkout-Ready”
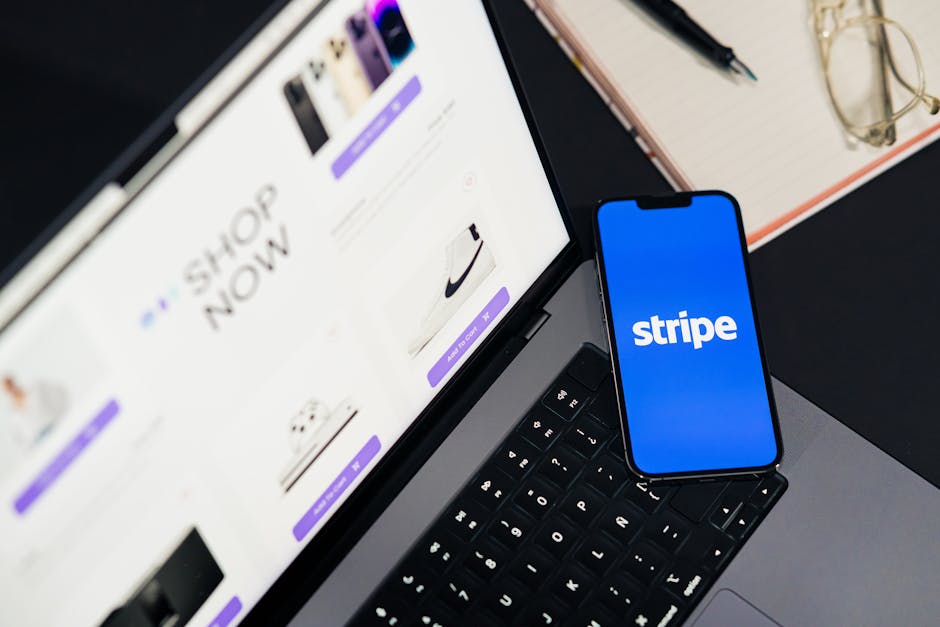
Payments setup (and what to test)
Enable Shopify Payments if it is available in your region, then add a backup option like PayPal. Confirm payout details early so you are not scrambling when the first sale hits. Before launch, run a full test order end to end, including the refund flow, so you know exactly what customers see.
- Test checkout on mobile and desktop.
- Confirm order confirmation email and shipping notification templates look clean.
Shipping rates and delivery strategy
Choose a shipping strategy that matches your price point and customer expectations. A simple approach often converts better than a complicated matrix of rates.
- Example: Free shipping over $50, otherwise $5.95 flat rate.
- Set a realistic handling time, like 1–2 business days, then beat it when possible.
Policies and compliance basics
Policies reduce support tickets and chargebacks. Keep them readable, and link them from the footer and the checkout area. If you sell in regions that require cookie consent, add a compliant banner and keep tracking settings consistent with what you promise.
- Shipping policy, returns policy, privacy policy, terms of service.
- Make returns simple, state the time window and condition requirements clearly.
Launch + Get Your First Traffic: A Beginner Shopify Guide for 2026 Growth

Pre-launch checklist (the 30-minute QA)
Do a quick quality check like a customer who wants to buy right now. Review everything on your phone, because that is where most first-time visitors will come from. Then place a test order, and make sure taxes and shipping behave the way you expect.
- Mobile layout, buttons, and page speed
- Broken links and missing images
- Variants, inventory, and pricing
- Taxes and shipping rates
- Order emails and abandoned checkout email
- Checkout test, including refund
- Analytics installed and firing
Your first 3 traffic channels (pick one to start)
You do not need to be everywhere. Pick one channel you can execute for two weeks without burning out, then add the next. In 2026, beginners usually win fastest with short-form video, basic SEO content, or micro-influencer seeding.
- Short-form video: product demo, problem and solution, unboxing, comparison.
- Search intent content: one helpful post that answers a buying question.
- Influencer and UGC seeding: send product to micro-creators who already talk to your audience.
Simple 7-day launch plan:
- Day 1–2: create 3 short videos, publish, and link directly to the product page
- Day 3–4: reach out to 20 micro-creators with a clear offer and simple brief
- Day 5–7: publish one “best for” SEO post, add email capture on the page
Measure what matters (beginner analytics)
Early metrics should tell you whether the store is clear, not whether you are ready to scale ads. Watch sessions, add-to-cart rate, conversion rate, and average order value. If you run ads, track CAC, but do not optimize ads before the store converts.
- If conversion is low, fix product page clarity and shipping and returns visibility before buying more traffic.
- If add-to-cart is low, your offer or product presentation needs work.
Actionable Takeaways: Your “How to Build a Shopify Store” 2026 Checklist
If you want your first sale, your job is not to build the biggest store. Your job is to build the clearest store, then get it in front of real people and learn fast.
- Launch the minimum lovable store: theme, core pages, 1–3 products, clear shipping and returns, tested checkout.
- Prioritize conversion basics over apps: speed, mobile UX, trust signals, clear offer, strong product media.
- Follow a simple next-step plan: today set up settings and domain, tomorrow build pages and add products, this week launch, post 7 pieces of content, and track conversion metrics.
Once the store is live, resist the urge to tinker endlessly. Let traffic and customer questions tell you what to build next, that is how you go from “launched” to “selling” without wasting weeks.